Trinkets of Thought

Life with the Littles-A lifestyle blog of living with five littles.

  • Home
  • About Me
  • Why Trinkets?
  • Haikus
  • Archives

Shredded Wheat Chocolate Chip Cookies

November 14, 2012 by Maren 4 Comments

This blog post should also be called,   ‘Confessions of a Thrifty Cheapskate.’  In case you’ve ever wondered how much of a penny-pincher I am, here’s proof. I’m exposing my cheap ways in this post today. Will you still be my friend?

You know how at the bottom of every Frosted Mini Wheat box, there is a gaggle of crumbs that were once Frosted Minis? Well, I recently found myself with about a cup of the stuff and wondered if anyone had come up with a recipe. So not that I know (cough cough), but if you Google “What to do with leftover shredded wheat?” you’ll find a couple recipes for cookies. I know because I found a recipe here and decided to try it. My hunch is you could use most any crunchy cookie recipe and substitute the finely ground mixture for flour and then decrease a little of the sugar. (I’ve similarly substituted with oatmeal when I’ve run out of flour before–and it worked just fine.) ANYWAY…

20121201-_C017395.jpg

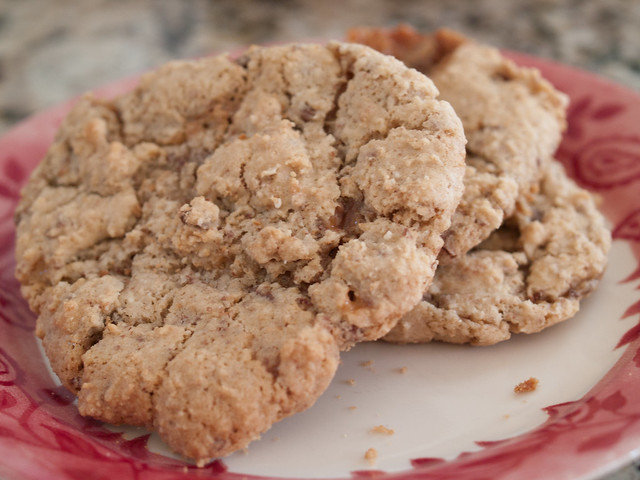
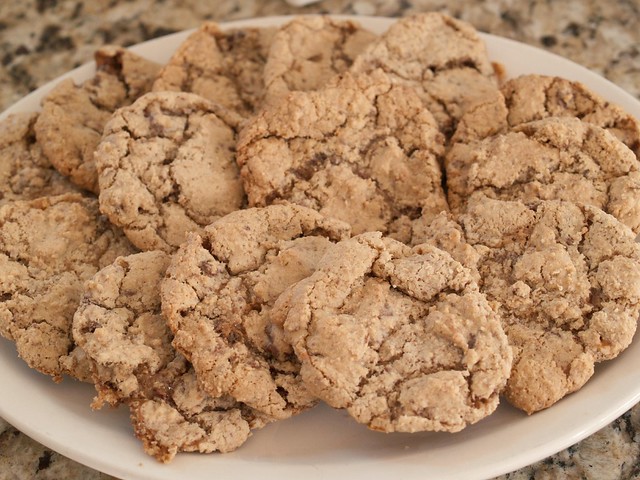
Light and Crispy Shredded Wheat Chocolate Chip Cookies (2ish dozen cookies)
Recipe Source

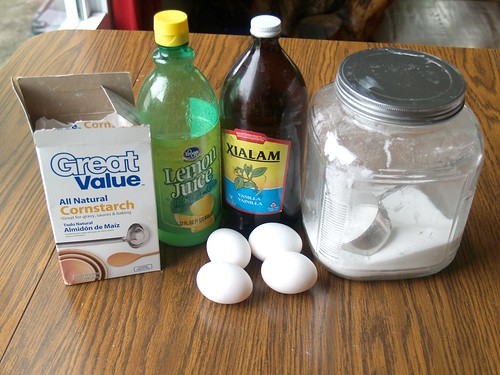
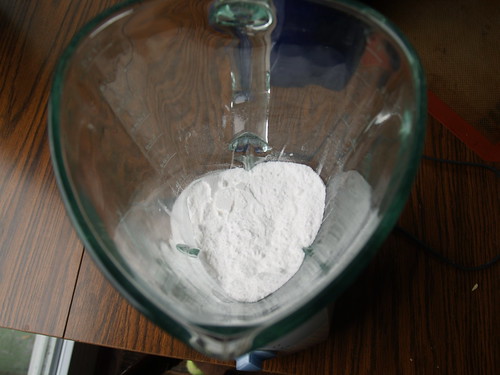
1 cup finely processed frosted shredded wheat crumbs
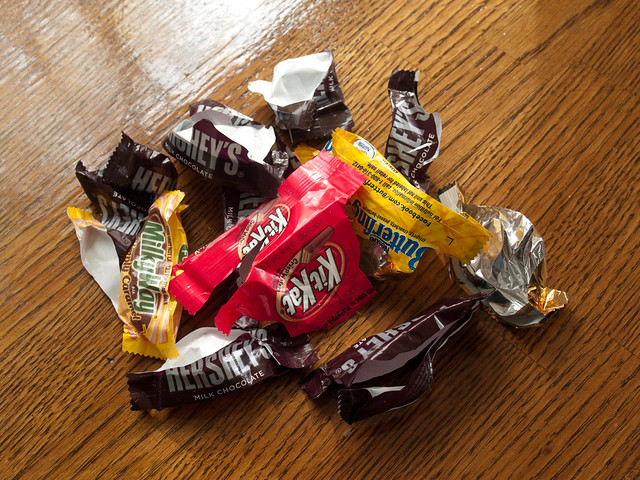
1 cup semi-sweet chocolate chips or any chocolate pieces (I chopped up some of my boys’ halloween loot for this.)
8 tablespoons butter
1/4 cup granulated sugar (I used the frosted kind so I really felt like the original recipe of 1/2 was too much.)
1/2 cup firmly packed brown sugar
1 egg
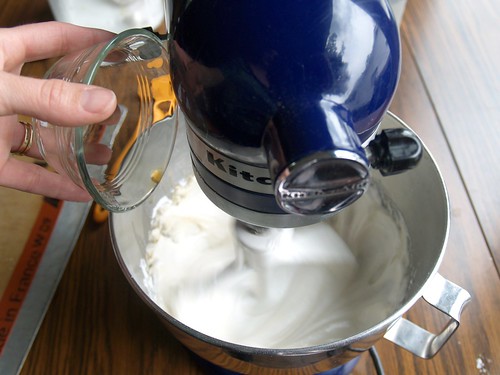
1 teaspoon pure vanilla extract (though I always add a little bit extra because I’m a vanilla junkie.)
1 cup all-purpose flour
1/2 teaspoon baking soda
1/2 teaspoon baking powder
1/4 teaspoon salt

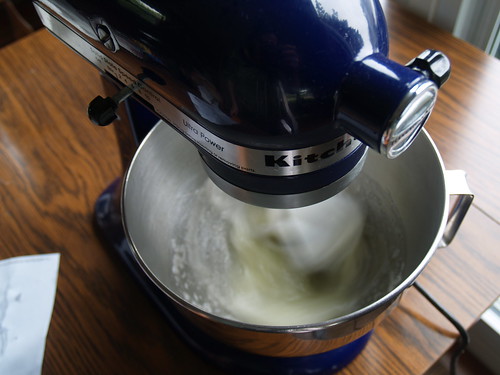
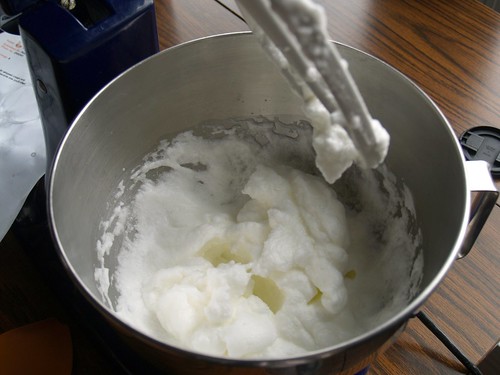
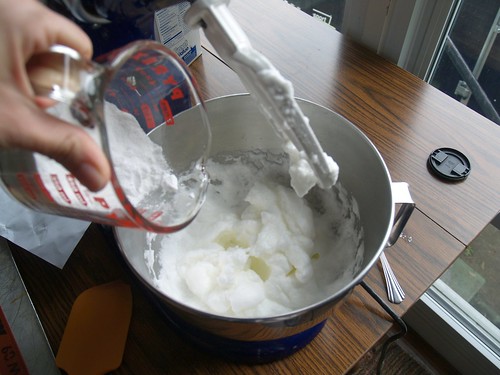
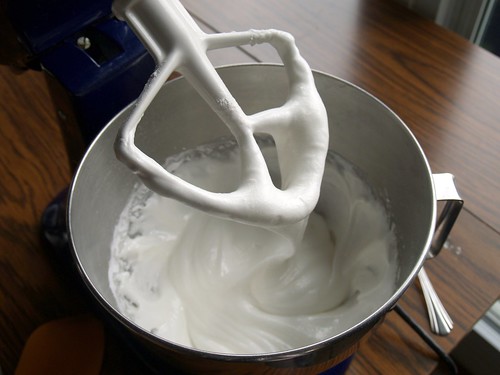
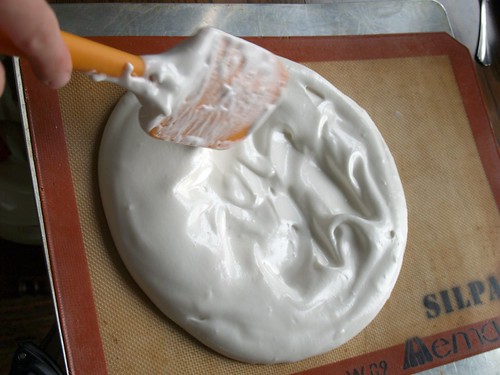
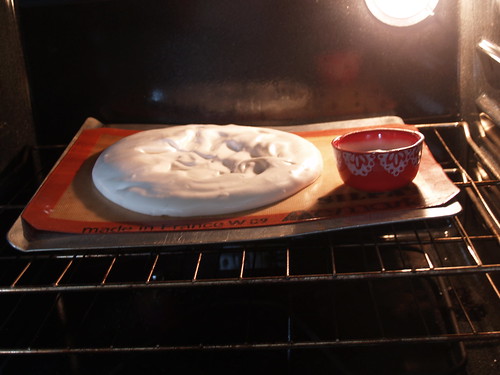
Heat oven to 375F. Put the cereal crumbs in a blender or food process until they are finely crushed. Then cream butter, sugars, eggs and vinilla. Next add flour, salt, baking soda, and baking powder. Combine well. Add chocolate pieces. Drop by rounded tablespoon onto a lightly greased cookie sheet and bake for 10-12 minutes. Cool completely; store in an airtight container. These are better once they’ve been cooled. Enjoy! Then have a guessing game with your friends as to your ‘secret ingredient.’

My thoughts:
1. I think next time I do this recipe, I will toast the cereal first–I think it would make the cookie fantabulous, though the original recipe didn’t call for it and were good without doing so.
2. I’d crush the cereal a little longer and finer in the food processer–I was impatient and didn’t crush them long enough.
3. The frosted mini wheats made the cookie nice and airy and I’ll definitely use them again in a recipe.
4. And last, what on earth did I do before my BFF Google? (Yep, after two years, Google and I are still BFF’s.)

20121201-_C017400.jpg
Kid approved..Notice the crumb.

20121201-_C017387.jpg

Do you ‘upcycle’ the kids’ Halloween candy to make cookies? 20121201-_C017384.jpg

Kale Chips

February 25, 2011 by Maren 1 Comment

Right now, I’m loving Kale Chips. Don’t get me wrong: I ALSO LOVE POTATO CHIPS, but when you’re trying to lose fifty pounds of babylove attached at the love handles like super glue, potato chips aren’t a friendly option.

Here’s how to make Kale Chips.

Ingredients:
* 1 bunch kale (you can now buy it pre-cut in the bag! WHOOHOO!)  Please excuse that the bag is already half-eaten.
* 1 tablespoon olive oil
* 1 teaspoon seasoned salt

20110210_2584.jpg

20110210_2586.jpg

1. Preheat an oven to 300 degrees. You can line a non insulated cookie sheet with parchment paper or use a silpat sheet, but it worked fine just on the cookie sheet for me.  Spread the kale on a cookie sheet. If you have to buy it in bunch form, separate the leafy part from the thick stems and tear into bite size pieces; discard stems. Wash and thoroughly dry kale. The lady who taught me about these actually soaked the leaves in a bowl of water, then dried them.

20110210_2590.jpg

2. Drizzle with olive oil, then toss leaves to coat.

20110210_2592.jpg

3. Sprinkle with seasoning salt.

20110210_2599.jpg

4. Bake until crisp and edges have darkened ~about 20ish minutes. These are a little finicky. You want them baked, crispy, and dark green but not overcooked and too brittle.

20110210_2609.jpg

5. Enjoy!

20110210_2618.jpg

This is Pierson right after he was starting to talk.  He’s asking for more kale chips, saying Please  “SSSSSSSSSSSSSSSSSS”!

In my house, they are kid approved (but he likes broccoli, too…) Enjoy!

Pavlova, I love thee. (A.k.a. My favorite Dessert)

June 4, 2010 by Maren 4 Comments

I recently have had a love affair with my favorite dessert. You know how it goes: You make it once for someone. Then you think about it for a week. So you make it again. And if that’s not enough, you think about it non-stop for the following week, and make it again. This is the story of my life the past couple of months in the dessert world.

It’s a dessert called Pavlova (a meringue-based dessert) and it’s a sliver of heaven on a plate. Every bite makes you say “MMMMMMMMMMMMMM.” It’s that good. I wish I could say that it is hard to make and I’m a great cook, but again, I’m one for EASY.

20100428_2133

The recipe mostly comes from here, with a couple of tweaks.

Here’s what you need:

20100427_2139

20100428_2127

* 4 egg whites
* 1 1/4 cups white sugar
* 1 teaspoon vanilla extract
* 1 teaspoon lemon juice
* 2 teaspoons cornstarch
* 1 pint heavy whipping cream
* 3 Tablespoons Sugar or Confectioner’s Sugar
*1/2 tspn grated lemon zest
* 1 tsp vanilla
* fruit- I prefer berries…blueberries, strawberries, and blackberries (cut up)

1. Preheat oven to 300 degrees F (150 degrees C). Line a baking sheet with parchment paper. Draw a 9 inch circle on the parchment paper. If you have a silpat sheet, it works great and you can skip the parchment paper doodling, as I did.

2. In a large bowl, beat egg whites until stiff but not dry.

20100427_2142

I’m no ‘stiff but not dry’ expert, but mine looked like this when I was done.

20100427_2143

3. In a blender, pulse the sugar for a few seconds to make it finer than regular sugar, but not as powdery as confectioner’s sugar.

20100427_2137

4. Gradually add in the sugar, 1 tablespoon at a time, beating well after each addition. Beat until thick and glossy (It starts to look like marshmallow fluff). Don’t overbeat, though.  Overbeaten egg whites lose volume and deflate when folded into other ingredients.

20100427_2144

20100427_2146

5. Gently fold in vanilla extract, lemon juice and cornstarch.

20100427_2150

6. Spoon mixture inside the circle drawn on the parchment paper or onto your silpat sheet. Working from the center, spread mixture toward the outside edge, building edge slightly. This should leave a slight depression in the center. Pardon my rendition. I choose the ‘doesn’t-matter-if-it’s-not-perfect,-you’ll-be-eating-it’ approach.

20100427_2155

7. Bake for 1ish hour. Don’t forget to put a little in a ramekin for yourself so you can ‘taste test’ it. THIS IS A VERY IMPORTANT STEP. WINK WINK.

20100427_2157

20100427_2162

(I turn my oven off about 45-50 minutes into the process and just leave it in the oven to cool completely. I’ve had success using this method. You can also just cool on a wire rack. You can make this the day before, but do not refrigerate it. Store it in an airtight container.)

8. If you used the parchment paper, remove the paper, and place meringue on a flat serving plate. RIGHT BEFORE SERVING and not a moment before, Make your whipped cream. (Directions: In a chilled small mixing bowl and with chilled beaters, beat cream until it begins to thicken. Add confectioners’ sugar and vanilla and lemon zest; beat until soft peaks form.)

I actually cut the meringue in pieces, then top each individual piece with whipped topping and fruit.  That way, the meringue doesn’t get soggy and you can have left overs. But if you want to impress and there will be several people eating it, you can fill the entire center of the meringue with the whipped cream.  Then top with fruit. Voila!

20100428_2135

Easy Pulled Pork Sandwiches

April 30, 2010 by Maren 4 Comments

With

I like to eat. The problem when you like to eat is that someone has to cook. I’m also cheap. The problem when you are cheap is that going out often requires a second mortgage on the house. So, I cook. Now, I’m not a chef. I’m not even a cook. But I do cook and like it fine.

For Pierson’s birthday, I needed to make something that could easily serve a crowd without slaving in the kitchen before or during church. I made pulled pork sandwiches. So easy. So good. Here’s the recipe from Allrecipes.com and can be found by clicking here.

And because I personally like recipes that I can visualize, here it is in pictures. Keep in mind that I tripled the recipe. So if it looks like a lot of onions or meat, etc, that’s why.

The ingredients:

  • 1 tablespoon butter
  • 2 pounds boneless pork roast
  • 1 tablespoon Cajun seasoning (I mixed Cajun Seasoning and Season Salt.)
  • 1 medium onion, chopped
  • 4 cloves garlic, crushed
  • 4 cups water
  • 1 tablespoon liquid smoke flavoring

Ingredients

Cut the pork roast into large chunks.

Chopped_Meat

Season generously with the Cajun seasoning.

SprinkleSalt

Melt butter in a large skillet over medium-high heat.

Butter

Add pork, and brown on all sides.

Brownbothsides

Brown Meat

Remove from the skillet, and transfer to a slow cooker.

PutInCrockpot

Scrape pan for all of the do-good.

ScrapePan

Crush your garlic (or go the easy route and use the jarred stuff…)

MinceGarlic

Add the onion and garlic to the skillet, and cook for a few minutes until tender.

saute

This is where I diverted a little from the recipe for the sake of ease. I threw the onions in the slow cooker.

Crockpot

Then I dumped HOT water into the crock pot. (If you go my route, make sure the water is hot, so the mixture starts out warm and the crockpot doesn’t have to heat it up…)

AddWater

Dump in liquid smoke flavoring.

AddLiquidSmoke

Cover, and cook on High for 6 hours, or until meat is falling apart when pierced with a fork. Remove pieces of pork from the slow cooker, and shred.

ShredMeat

Return to the slow cooker to keep warm while serving.  Put on buns and eat without barbeque sauce.

Without

Or with.   I made this sauce and it turned out great!

With

Great AND EASY for feeding a crowd! I liked starting it on the stove because I think it gave it more flavor than doing it otherwise. It was very good and the eaters ate!

Notes for when I make it again: I will cut back on both the onions and seasoning salt.  Though it tasted great, it was just a little too oniony and salty for my personal taste.  It has great flavor! Let me know if you try it!

Related Posts Plugin for WordPress, Blogger...
Next Page »
welcome

Thanks for stopping by my little corner of blogdom. Stick around and say hello. Leave a comment or create a haiku. I'm so glad you're here!
[Read More…]

welcome
 rssicon  facebookicon  flickrconnect  pinteresticon  googleplus	icon Click to email me
About Me
About Trinkets
Email Subscribe
Reader
welcome

Copyright © 2025 · Beautiful Pro Theme on Genesis Framework · WordPress · Log in